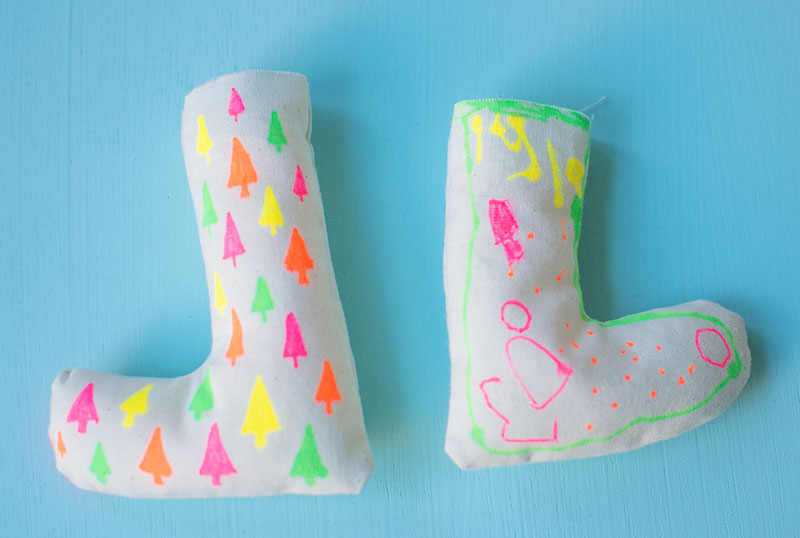
These DIY Christmas decorations are simple to make and really brighten up the tree. Cherry helped me stuff them then decorated them all herself and having them covered in your kid’s art means that you will want to keep them forever. I absolutely love looking at anything Cherry and Tiger have drawn, even if it’s just scribbles. Older kids can also practice their sewing skills either on a machine or by hand.
To make these neon Christmas decorations you will need:
– Natural fabric
– Sewing machine / needle and thread
– Permanent markers – we used normal ones but you can get a fabric variety
– Yarn / ribbon for hanging
– Scissors
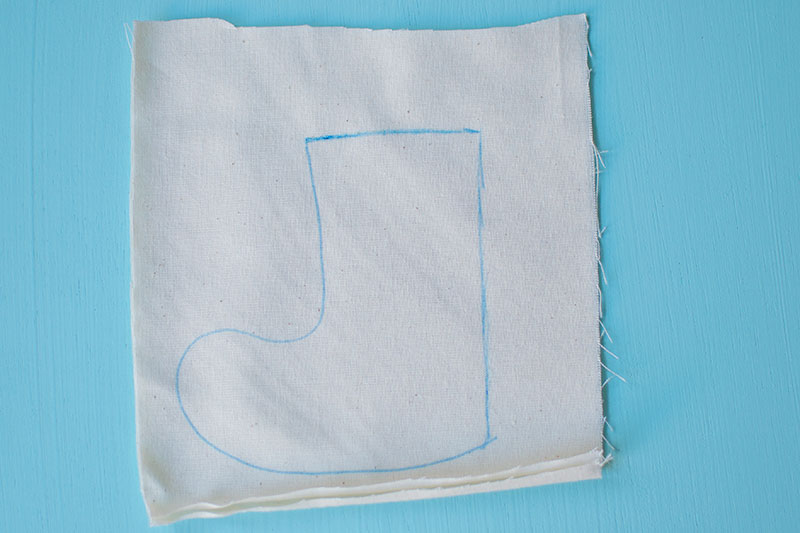
Start by cutting 2 pieces of fabric then draw the shape of the decoration on the top. We made stockings, Christmas trees and baubles. I am going to be showing you the step by step instructions for the Christmas stocking shape decorations but you do exactly the same thing no matter what shape you are using.
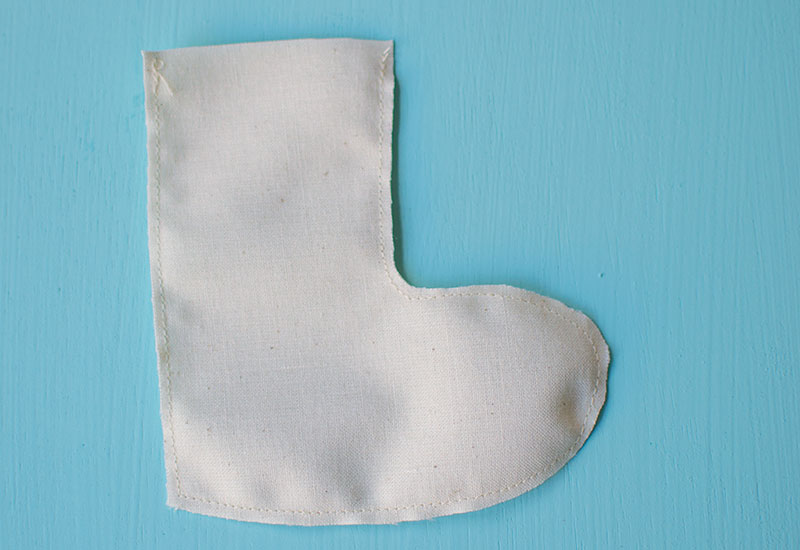
Sew around most of the line you’ve drawn making sure you leave a gap to stuff. Then cut around it leaving a gap of a few mms.
Turn it the right way out.
Let your kid’s loose with pens to decorate them, or you can have a go yourself. You could also use fabric paint.
Then stuff them with toy filling. Cherry loved that part and used such a tiny bit at a time that it kept her entertained for ages.
Tie a knot in some yarn then place it inside the top and sew it together.
Then your decorations are ready for hanging on the tree. They don’t take long to make at all, especially if you are using a sewing machine. We had a production line going too as I would sew them then pass them over to Cherry who would do the next part. We made a whole batch in under an hour so it’s a really fun way to make lots of DIY Christmas decorations for your tree.
If you liked these then do check out my DIY Christmas tea bags post 🙂


