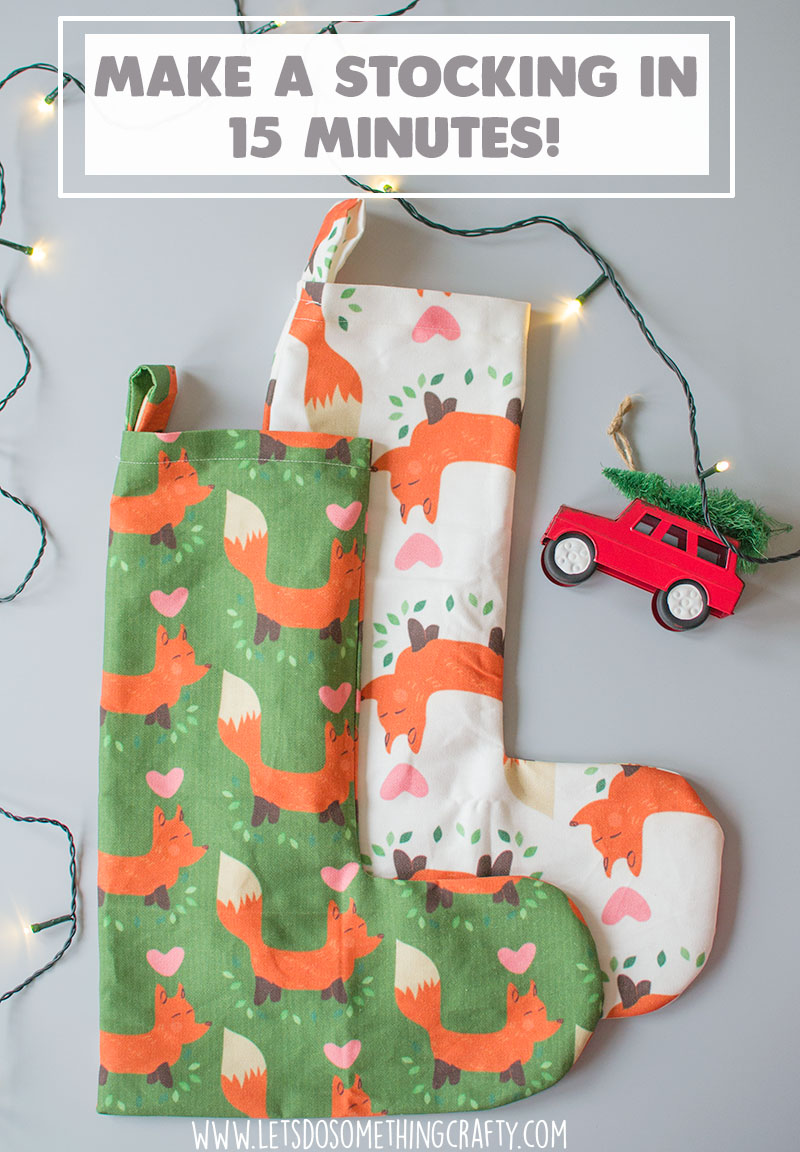
This is the first time I’ve made a Christmas stocking, I’ve always planned to then just never got around to it but I decided to give it a go this year and was surprised at how quickly you can make them. I had finished each of these in about 10-15 minutes and believe me, I am no expert when it comes to sewing!
I did use a machine which obviously sped things up, of course you can sew them by hand but it would take a lot longer.
The fabric is from Zazzle, you can choose from thousands of designs and types of material but this was a retro fox print and it comes in lots of different colors but I went for green and cream. It’s not specifically festive but I really loved it and think it works well. Obviously you can use any print you like!
To make a Christmas stocking you will need:
– A fat quarter of fabric, mine measured 30 x 18 inches.
– Scissors
– A pencil
Start by folding the fat quarter in half and drawing a stocking shape on it with the pencil.
NOTE: Make sure the fabric is the right way up!! I didn’t do this for one of them so the foxes are upside down, as you will notice below.
Sew around the line you have drawn on the sides and bottom but NOT THE TOP!
Cut around the outside of the stocking as close to the sewing line as possible but leaving a few mms. I know most people cut out before they sew but I find it much easier this way.
Instead of cutting across the line I drew for the top of the stocking I went up to the top so I could fold the extra fabric down.
Fold the top down to the line you drew then sew each side to hold it in place.
 Sew around the top of the stocking.
To make the little hook, sew down the sides of a fairly wide rectangle of fabric then use a pencil to push it the right way out. Fold it lengthways then attach it to the stocking. I attached it to the inside.
TIP: Before turning it the right way out put some snips in any corners being careful not to cut into the lines you’ve sewed.
Now you have a Christmas stocking!
This was the one that ended up being upside down so as I said above do make sure you check that!
You could finish them by giving them a quick iron to flatten the seams or if you are a bit lazy (like me) then you could just skip that part.
Collaborative Post.


