I think this DIY Photo Frame post might be one of my favourites to date. You can think about taking some pictures of you with your mom and placing them in an album explaining what made those moments special while considering Christmas gifts for mum.
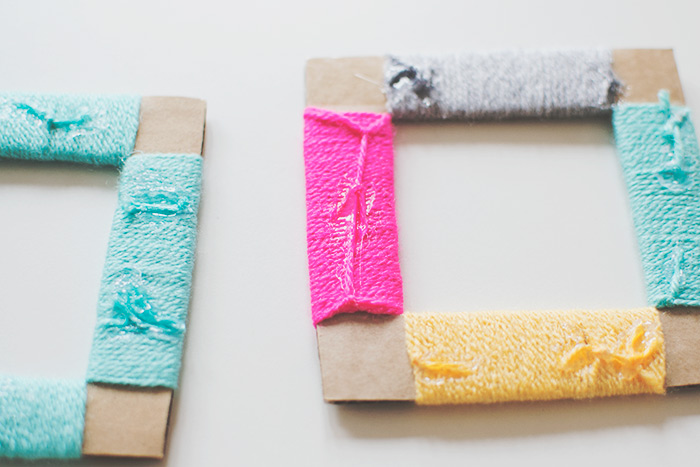
I’m a tiny bit obsessed with the colours of the yarn I used, in fact I used them in my crochet bunting too so they match.
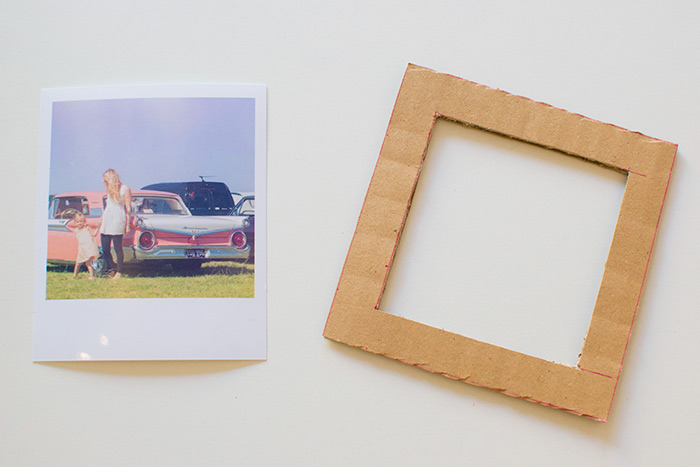
I’ve been meaning to get some photos up on my walls for ages and I had lots of polaroid sized Instagram photos that I needed to do something with so decided to make these DIY photo frames using cardboard.
You will need:
– Cardboard
– Photos, any size you like
– A Pen
– A Ruler
– Scissors / Craft Knife / Cutting Mat
– A Glue Gun
– Yarn
– Paint / Glitter for kids to do some too
I started by drawing around the photo onto the cardboard then marked another line a bit further out. I used a craft knife to cut around the middle line revealing the hole that the photo will be seen through. I then used scissors to cut around the outside line leaving you with a frame.
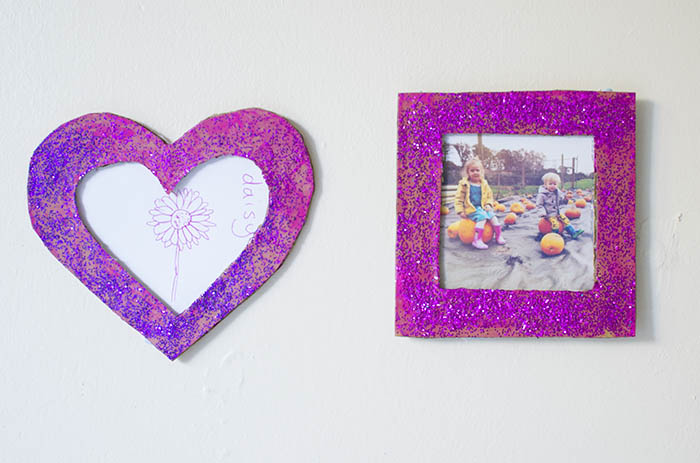
You could do this any size you like and in any shape you like, we also did a heart but circles would work too.
Once you’ve made the first one you can just draw around the outside and inside so you know where to cut the lines on the second one, you don’t need to measure it all out again, unless you are making different sized frames.

I decided to wrap yarn around my frames to decorate them, I secured the ends with a glue gun just to make sure they stayed in place. You could skip that step though if you were happy you had tied them tightly. The wrapping did take a bit of time as you have to cut a length of yarn then keep tying more on, it’s a good job for doing whilst sitting on the sofa in the evening watching telly. I didn’t do the corners as the yarn kept slipping but I was thinking you could make little snips in the cardboard to hold it in place, you could then do the corners different colours. Obviously if using a circular frame that wouldn’t be an issue.
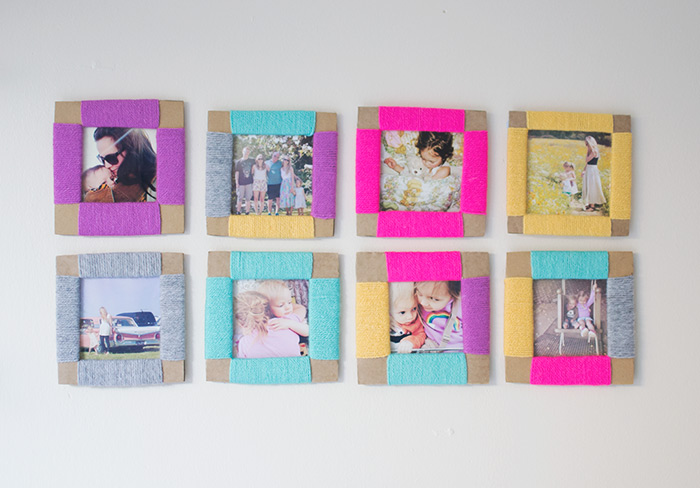
I then stuck the photos on the back using my glue gun.


Cherry also had a go at making some, she painted hers and covered them in glitter, no surprise there! I say it every time but to avoid glitter falling off everywhere either mix it with glue and paint it on or seal it with Mod Podge / watered down PVA.

The heart DIY photo frame didn’t fit a photo very well so we used a little drawing instead. You could even get your kids to do some paintings and frame those.


I’m a huge fan of bright colors but obviously you could use more neutral colors, you could even do black and white ones and use black and white photos too, in fact I might have to give that a go!