
Getting ready to go back to school can be stressful for the whole family. Having creative hobbies to participate in together can allow kids and adults alike, to de-stress before the school year gets into full swing. There’s nothing more fun than making something totally unique during those last days of summer break. Whether it’s a stylish dry-erase board, an inspiring diamond painting or an adorable set of backpack charms, these creative DIY projects can help kids prepare to go back to school and even get them excited to use their new supplies. Keep reading to discover some fun back-to-school crafts to try before the homework piles up!
1.Diamond Painting Kit
Hanging a piece of artwork in your study space is the perfect way to brighten up the long nights of homework ahead. Diamond painting kits are a super fun DIY art project that anyone can do. You definitely don’t have to be a skilled artist. They’re a combination of cross-stitch and paint- by-numbers that use colored resin rhinestones (called drills) to create a shimmering mosaic image. Working on a diamond painting kit is the perfect way to relax when the stress of returning to school starts to get to you.
All you have to do is select a kit that appeals to you, pick the color “diamond” drill you’d like to start with and use the special applicator to apply the drills to the pre-glued canvas. It’s really that easy! Once you’ve created your masterpiece, you can display it wherever you’d like to spark some joy throughout the school year. You could even start a collection. Not sure where to buy diamond painting kits? There are plenty of great options online as well as at many brick and mortar craft stores.
2. Custom Clipboard
Let’s be honest — clipboards don’t tend to be particularly exciting. But making your own clipboard to hang up or take with you is not only lots of fun, the finished product is much more appealing to look at. You can buy hardboard, an engineered wood product similar to particle board, at your local home improvement store, or online.
What you’ll need:
● One piece of ⅛” hardboard cut to size
● Two (or more) spray paint colors
● Painter’s tape
● One bulldog clip
● Industrial strength adhesive
Directions:
Once you have your hardboard cut to the size you’d like your clipboard to be, pick out which color you want to make the accent designs. You’ll want to coat the entire board with this color. Once it’s dry, use your painter’s tape to create a design you like, such as stripes or a checkered pattern. Make sure you press the tape down well so no paint seeps underneath! Next, take a different color and spray over the entire taped board again. The areas that have been taped off will preserve the color underneath. Allow that to dry and then peel the tape off. You can repeat these steps as many times as you’d like. You’ll also want to spray paint the bulldog clip during this step. Once you’ve finished painting and have allowed the board to fully dry for 24 hours, all you have to do is glue the clip to the top center of the board and voilà!
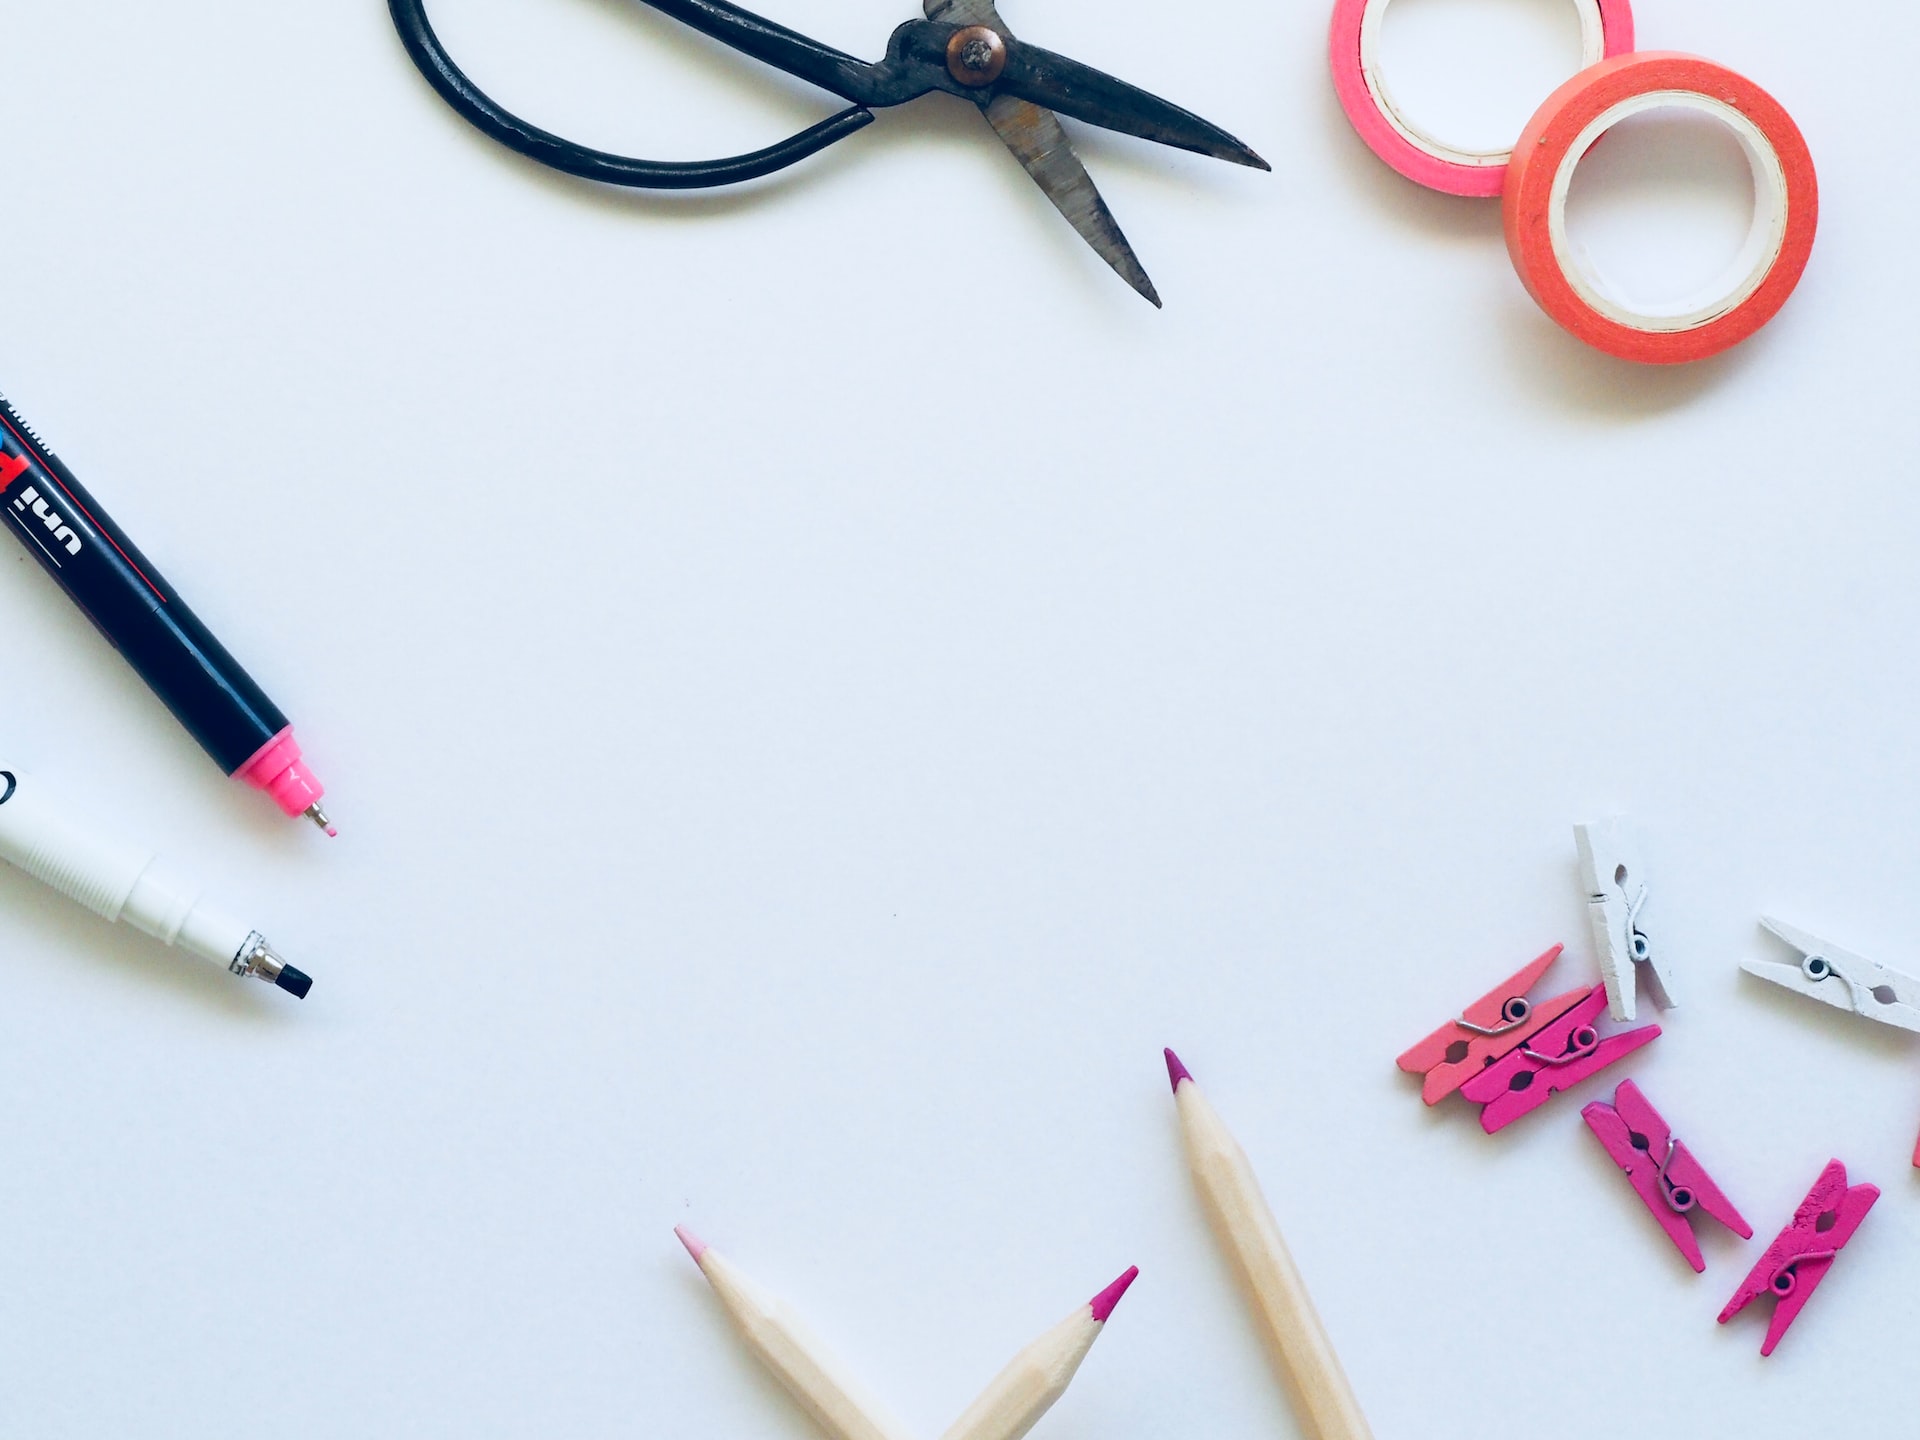
3. Pringles Can Pencil Holder
Looking for a super fun and easy craft for the kids to make before they head back to class? Have them construct a Pringles can pencil holder.
What you’ll need:
● Mini Pringles can
● Craft paper
● Scissors
● Markers
● Glue
● Glitter, buttons, stickers and anything else to adorn your pencil holder
Directions:
Wipe out your mini Pringles can to ensure there are no stray crumbs. Cut out a strip of craft
paper to the height of the can and have your child draw a picture on it. Once they’re happy with
their design, glue the paper around the outside of the can and let them continue to add to their
design as they please. Adding stickers is a great, mess-free option. They’ll be super excited to
organize their school supplies in something they made with their own hands.
4. Personalized Washi Tape Notebooks
A wonderfully easy way to personalize school supplies is with washi tape. Washi tape comes in a wide variety of patterns and colors and adds the perfect touch to the cover of notebooks, binders and more. After all, it’s so much more enjoyable to write in a journal when it’s uniquely yours.
What you’ll need:
● A notebook
● Washi tape
● Cardstock, stickers or decorative paper (optional)
Directions:
Simply wrap the washi tape around the cover of the notebook (vertically or horizontally) with the ends of each piece inside each cover. You may do this over the entire cover or just add one strip as an accent. If you’re feeling really inspired, you can even cut out a piece of cardstock or paper that coordinates with your tape and adhere it to the inside covers of your notebook,
covering the ends of the tape. Stickers make delightful additions, too.
5. Fun Backpack Charms
Charms are such a great way to personalize backpacks and lunch boxes, and they allow a child to identify their belongings when they are mixed in with all the other kids’ items. Repurposing little toys and trinkets to make unique charms is so gratifying and the end product is sweet and stunning.
What you’ll need:
● Small plastic toys of your choice
● Beads
● Yarn
● Scissors
● Acrylic paint
● Paint brushes
● Wire
● Wire cutters
● Nail or drill (for making holes in toys)
● Hot glue gun (instead of nail or drill)
Directions:
The first step to making unique charms for school items is picking out toys that will be easy to run your yarn through. Look for trinkets that are easy to make holes in, as well as things with loops or that can easily be hot glued. This might take some trial and error but the end product is worth it. Next, choose a color scheme and paint each toy one of the colors you’ve chosen. If your toys are easily punctured, create two holes so you can make wire loops out of the top to thread the yarn through (kind of like a Christmas ornament). String the yarn through and add beads, pompoms and tassels as you see fit, and don’t forget to make a loop of yarn at the top so it can be clipped onto a backpack or lunch bag.
6. Custom Corkboard
Hanging up a cute corkboard in your study area can be a great way to display little things that
make you happy as well as reminders for important tasks. Why not make a cute custom
corkboard in a shape that you like?
What you’ll need:
● Corkboard
● Shape of choice
● Blade or scissors
Directions:
All you need to do for this project is trace a shape onto a piece of corkboard and carefully cut it
out. The shape you choose can be printed on paper and traced around or traced directly from
something you have in a shape you like. For example, if you had a cute mermaid-shaped wall
hanging, you could easily trace around her and create a mermaid corkboard.
7. Washi Tape Dry Erase Board
If you have an old picture frame lying around, this is the perfect project for you. Setting up a washi tape dry erase board takes only a few minutes and looks great on any desk.
What you’ll need:
● An empty glass picture frame
● Washi tape
Directions:
All you need to do for this easy DIY is cover the inside of the picture frame backing with washi tape. Once reassembled, you can write on the glass with a dry erase marker just like a dry erase board. You’ll love how cute it looks and it can easily be changed out whenever you want a new look!
Conclusion
The beginning of the school year can be hectic, but luckily there’s time before the workload becomes too heavy to get in some fun DIY crafts to liven things up. These seven projects are sure to help kids get excited for the school year and provide a much-needed, stress-free break.