This toy guitar was a really fun rainy day project using the fabric pens we found in IKEA and some natural material I had in my drawer.
I used a sewing machine but you could also do it by hand or if your kids are old enough then they can do the sewing part themselves.
To make a stuffed toy guitar you will need:
– Natural material
– Toy stuffing
– Fabric pens
– Pins
– Scissors
– A needle and thread / sewing machine
– Tracing paper and Cardboard for the template as well as a thick pen
– Yarn
I am so rubbish at remembering to take photos as I am making something so I’m afraid I only have one.
I started by drawing a guitar on two pieces of cardboard taped together. I then put some tracing paper on top and used a thick pen to draw around it. I cut it out and pinned it onto the material then cut around it. Repeat this twice so you have two pieces of fabric.

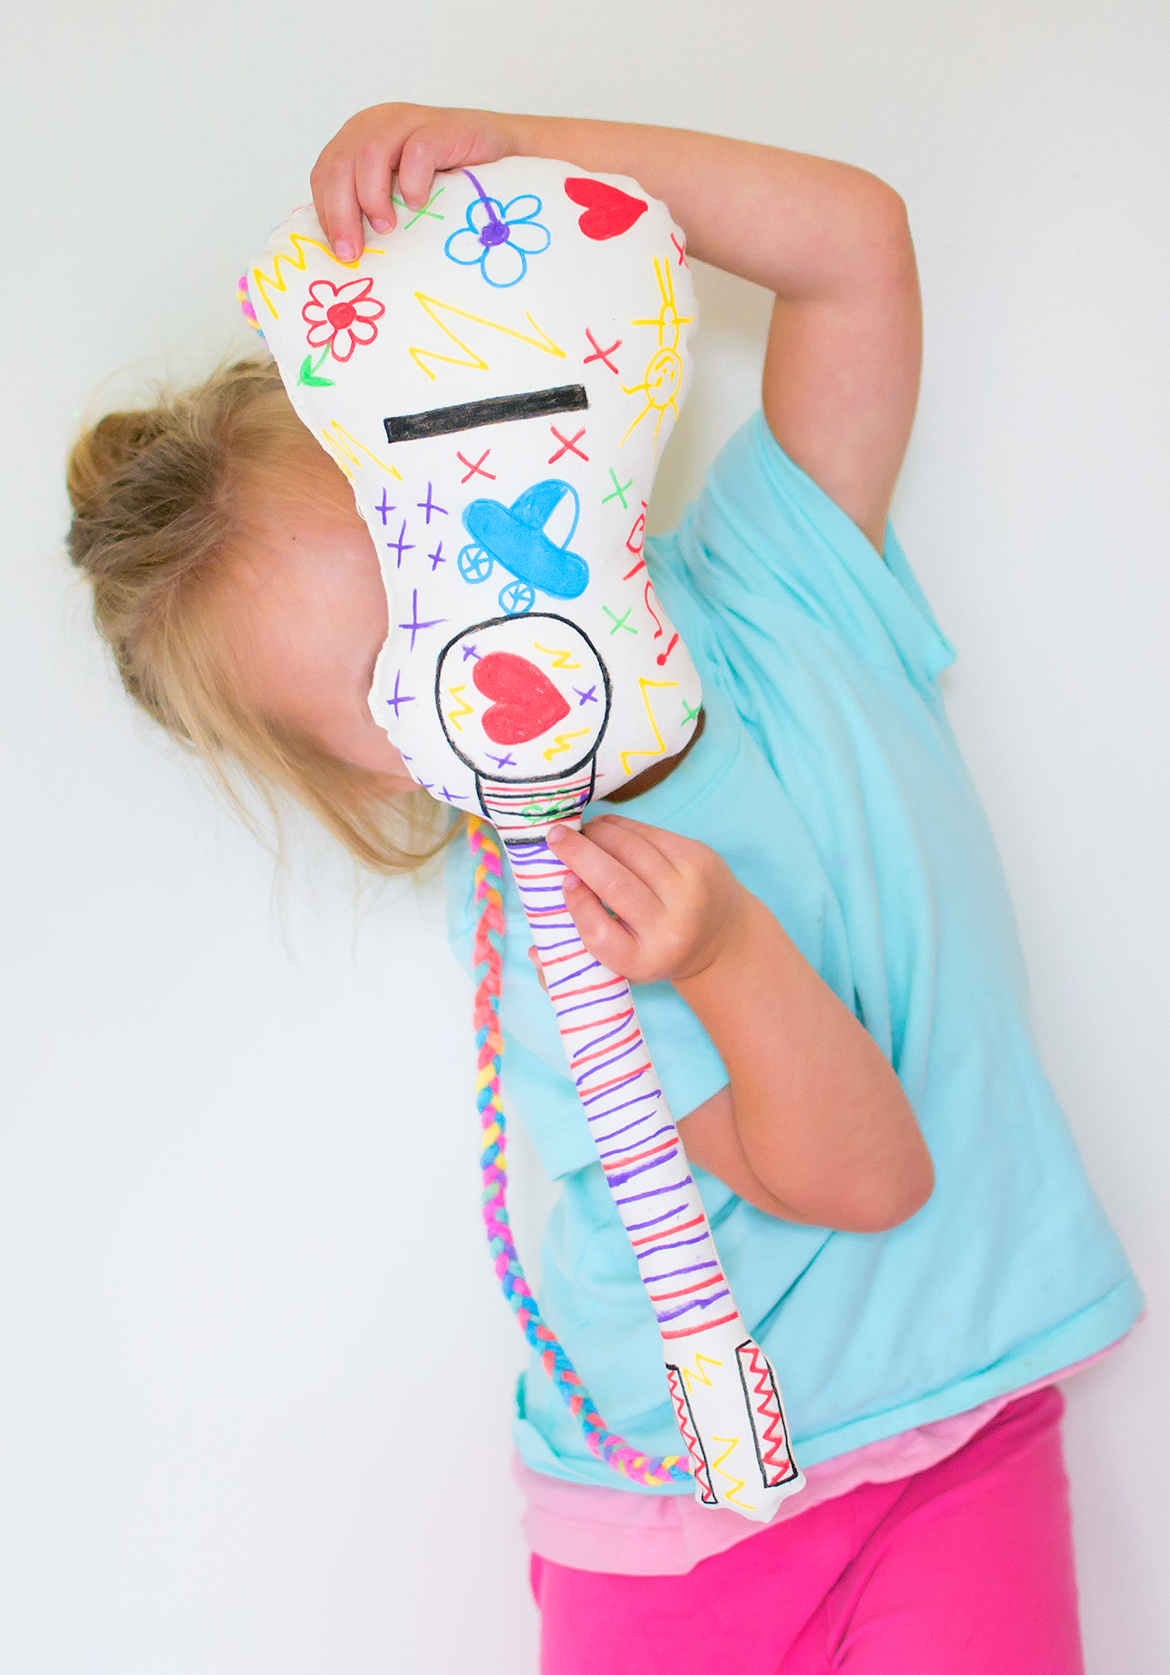
Then let your kids loose on decorating one of the pieces and leave it to dry.
Face both pieces facing each other and start sewing around the outside, I did the long bit first then worked around the outside leaving about a five inch gap at the top.
Turn it inside out, you will need something long to help poke the long bit through then stuff it, again using something long to poke the stuffing down into the long bit. When it’s nearly full hand stitch the gap together leaving a really small gap for any more stuffing to be added then completely close the hole.
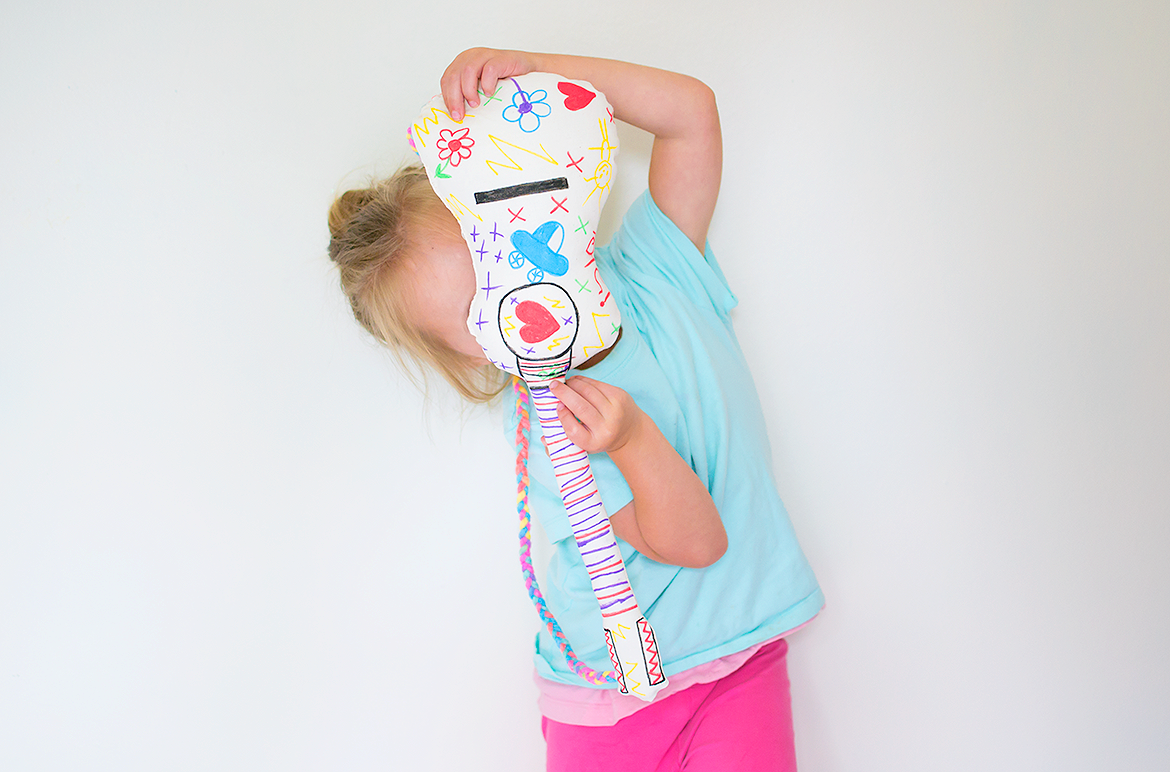
I plaited some yarn together to make the strap then sewed each end to the back of the guitar.
And there you have a toy guitar, perfect for pretending to rock out.
And also perfect for not making much noise 😉


 And if you ever want to share something you’ve made with me then don’t forget to use #letsdosomethingcrafty